Editing
 After capturing the footage for our film, we had to edit the clips together. For this we chose to use Adobe Premiere Pro, primarily we because we were very used to using it before and had edited other videos in the past with the software. This means we would be much more comfortable using it and editing would be easier to do.
Footage Importing
We firstly imported our footage into premiere pro, separating the footage into bins for footage and sound samples, to allow for us to easily find what we need.
Footage Editing
After importing all the necessary footage, we created a sequence with the footage, making sure to not exceed 2 minutes too excessively. We aligned the clips together to achieve continuity and no abrupt cuts to any random footage or random screens.
Sound Samples/Music
We then added our sound under the footage. We didn't use any music but a variety of sound samples that we got of GarageBand. We then exported them and used them in our film.
Grpahics/Titles
After completing a large proportion of the film, we added our graphics over the top of the opening establishing shots, sticking to the same font and text size throughout.
Effects/Transitions
After adding all necessary footage, audio and graphics, we added our effects. This includes things like fades to achieve good continuity.
We added 'dip to black' fades on footage and 'exponential fades' on audio to make sure that they didn't suddenly cut out or be interrupted.
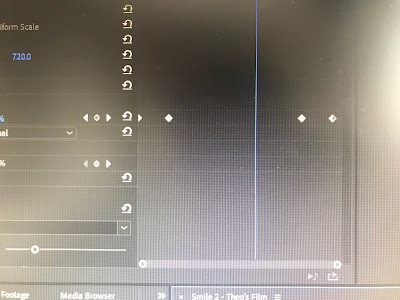
We also added fade effects onto our graphics through the 'effect controls' section. This meant that titles would fade in and out smoothly rather than appear and disappear very abruptly.


No comments:
Post a Comment